
This is how server installs are supposed to be.
IPv6rs released Cloud Seeder, their new server install wizard. They call their servers “appliances” which seems appropriate.
I usually like to setup my own servers, but let’s be honest, nobody wants to perform constant maintenance. So I decided to give it a spin.
At the risk of sounding like a shill, this is how running a self-hosted server was meant to be.

The application starts with a splash screen. I also noticed the nice system tray icon in the corner.
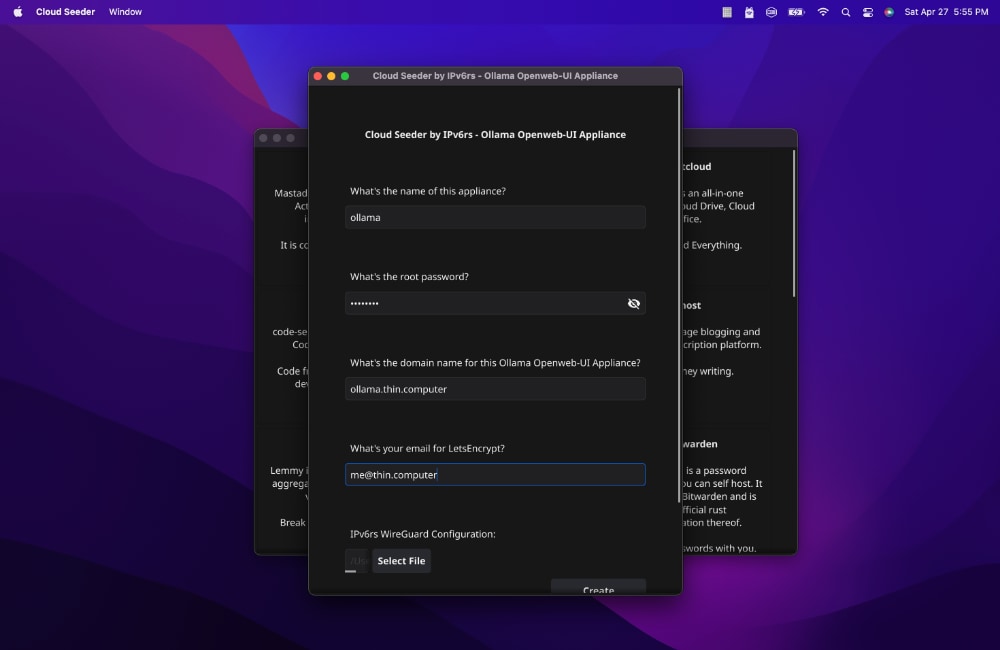
There were a few basic inputs. I also had to generate my IP on IPv6rs and set the DNS prior. This took about 1 minute.
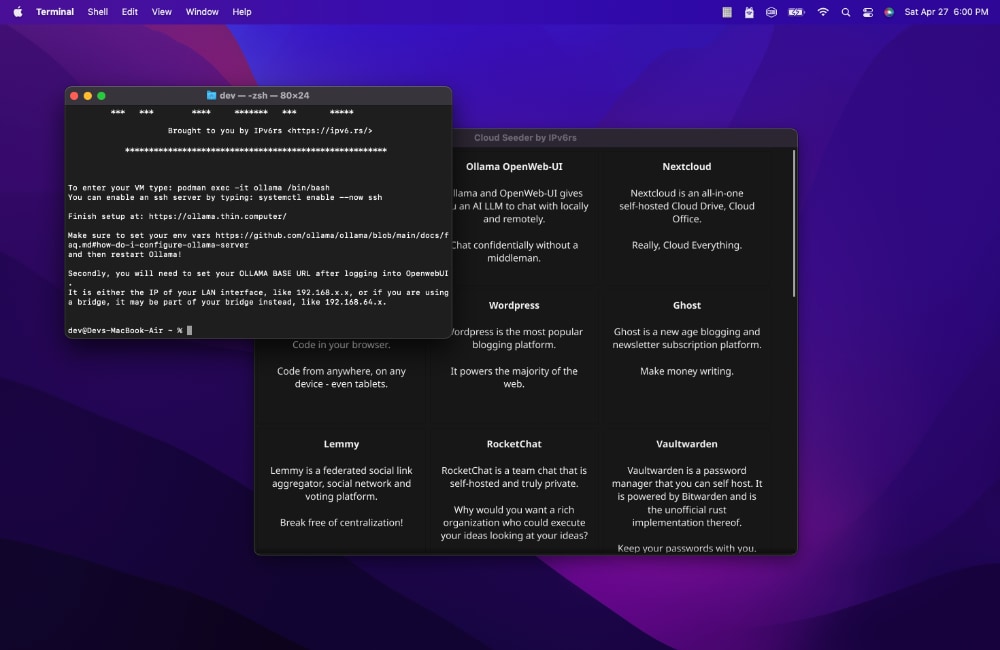
At the end of setup, there are a few things that had to be completed to get Ollama ready.
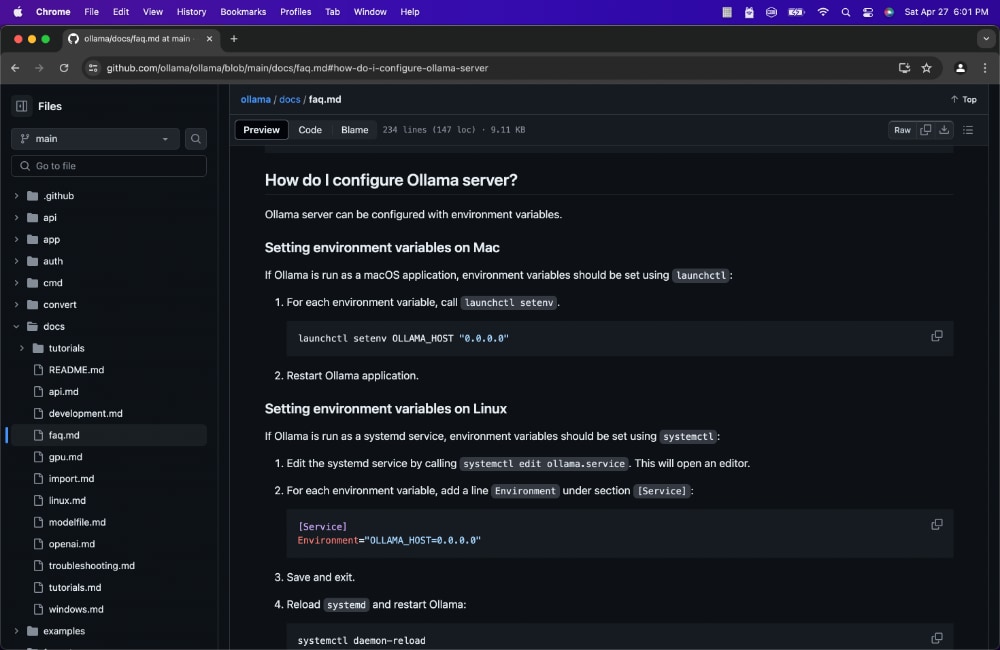
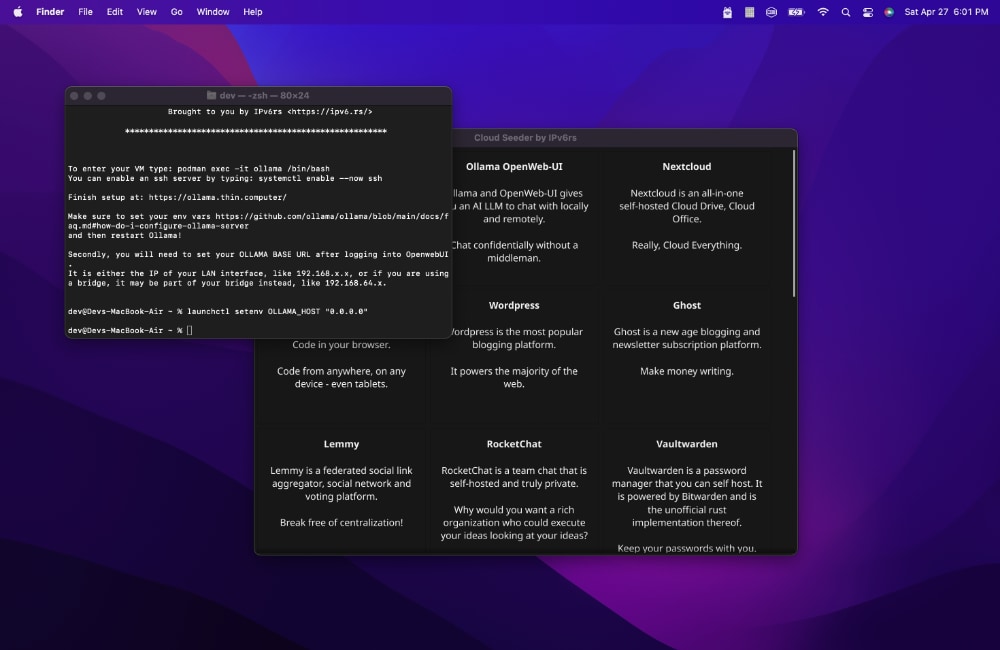
That is easy – launchctl setenv OLLAMA_HOST "0.0.0.0" on a Mac.
I also had to lookup my local IP, by typing ifconfig |grep 192.168.
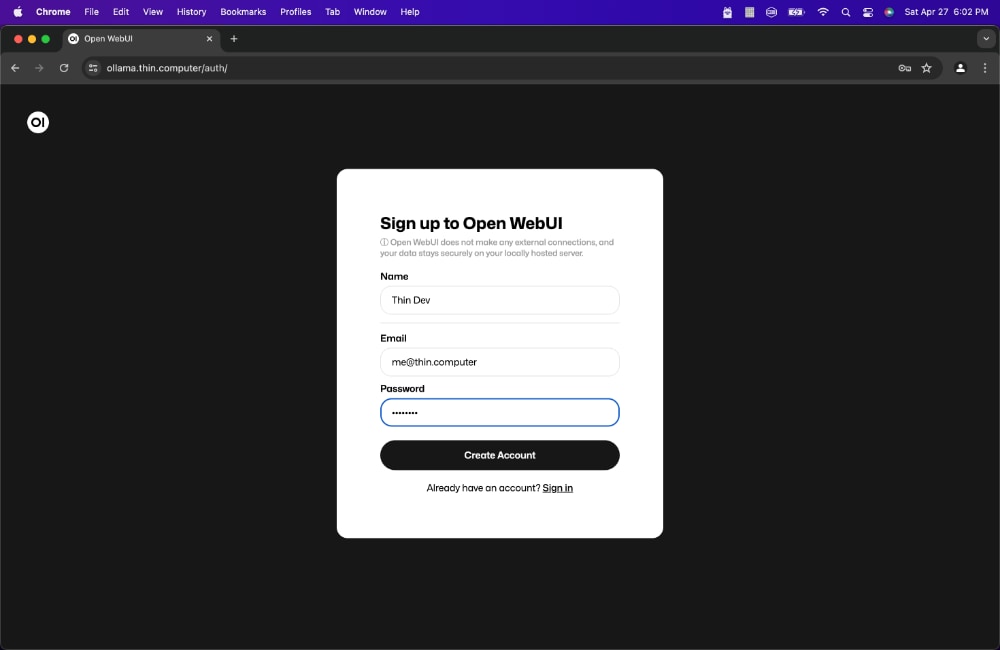
After creating an account, I just had to set the local IP.
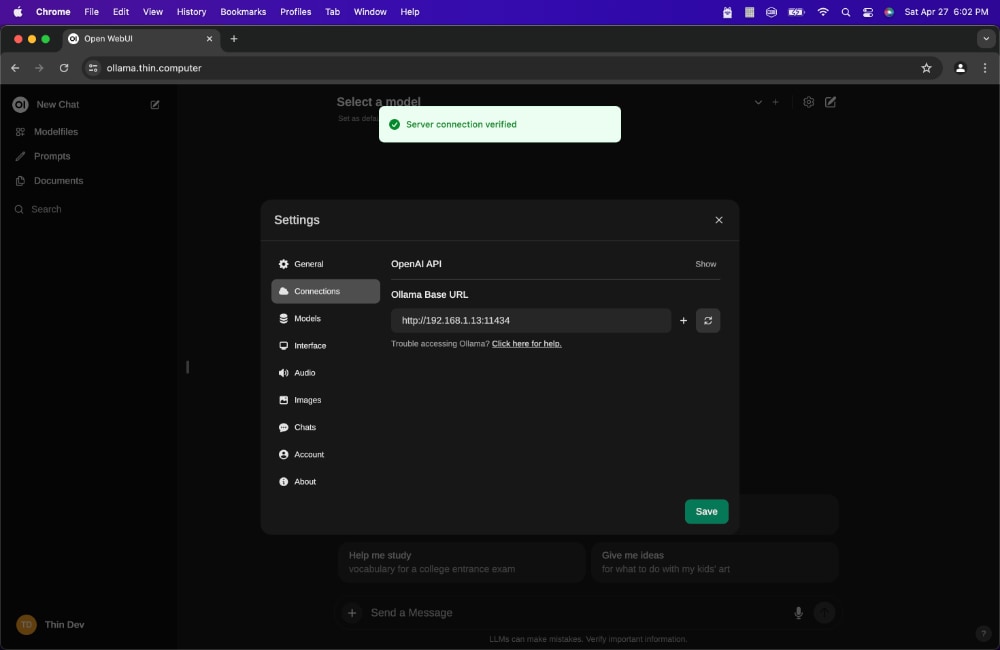
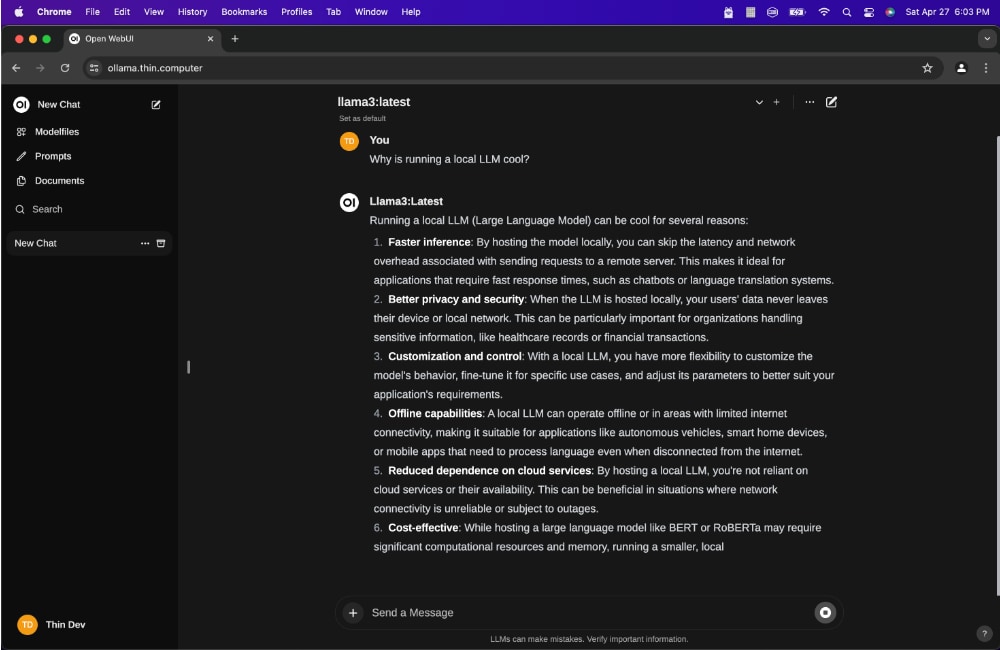
And like that, I had a confidential and, more importantly, maintained Ollama and Open WebUI setup at home!
I also replaced my personal Mastodon with the Cloud Seeder Mastodon appliance. This really seems like the easier way to do things.
Leave a Reply