
How I setup my own Datacenter in my room on an Unused Laptop
So I decided to setup a server, but when I went to the prices on the various major VPS platforms out there (Linode, DO, AWS) I couldn’t stomach spending ~$1000/year on a machine when I had a perfectly fine Macbook Air collecting dust in favor of the Pro and a gigabit home internet connection.
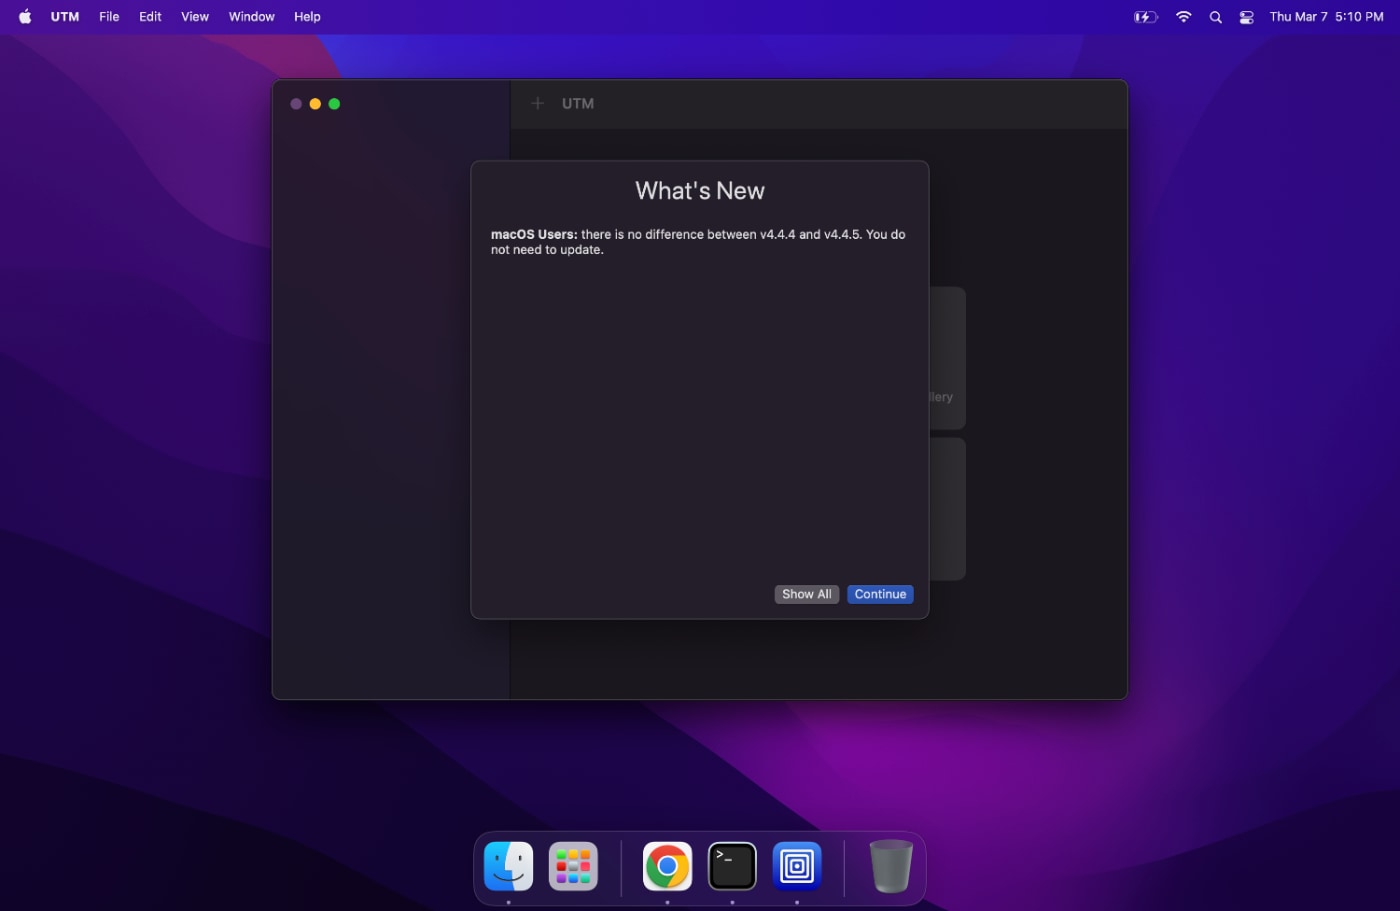
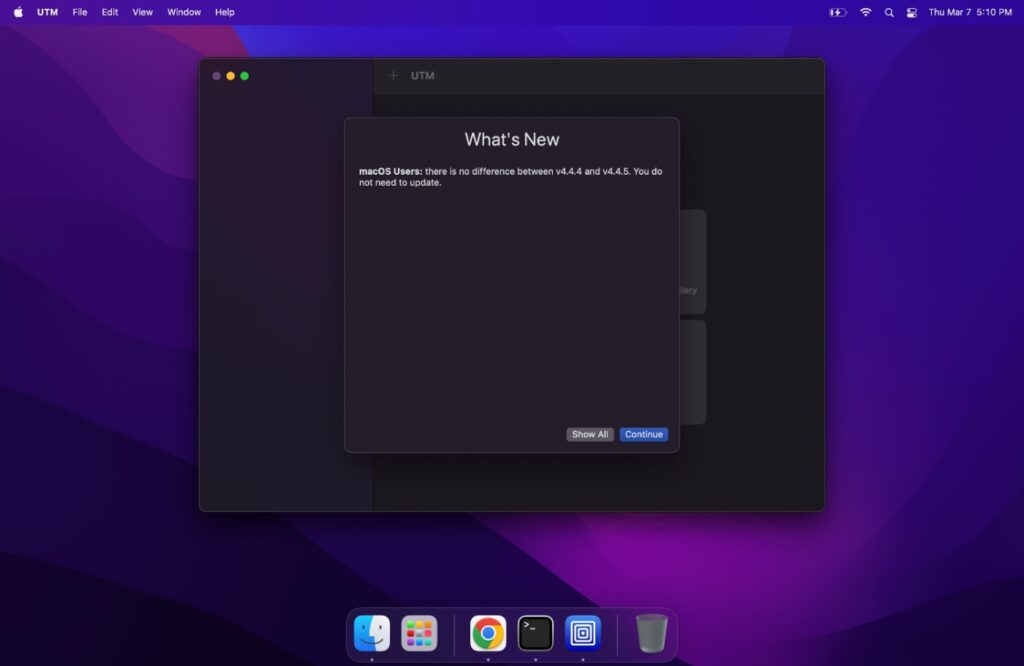
So I did what any sensible person would do – turned to the self hosting route. I thought about it, and I realized while running a baremetal Asahi on my machine was enticing, the benefit of isolating my machine in a sandbox of its own by running a VM far outweighed my curiosity to try things since I could still use the Mac. I opted to download UTM.
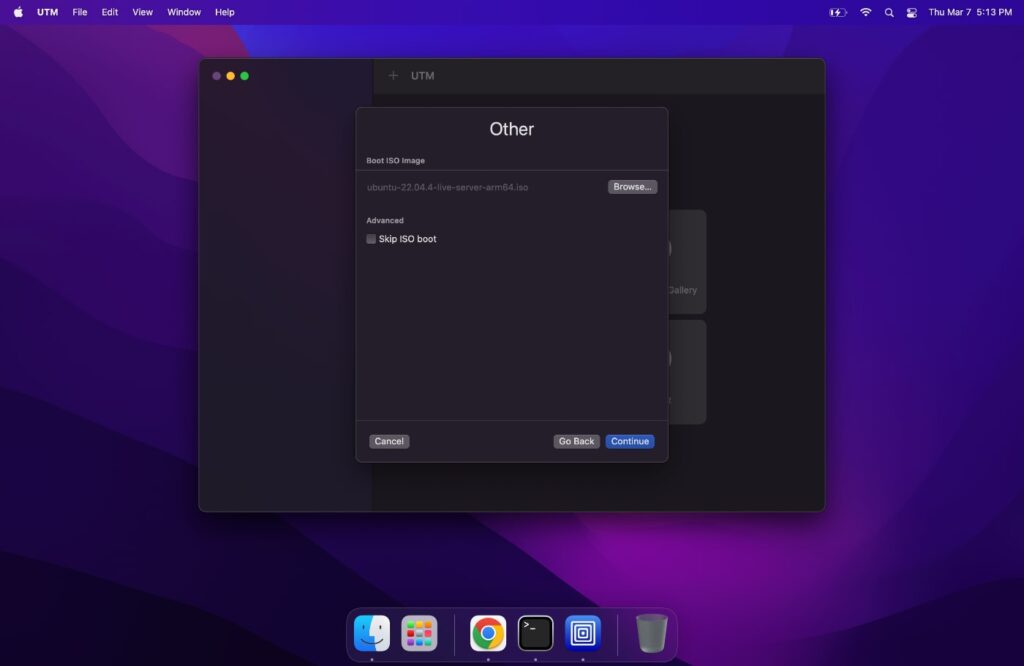
After installing UTM, I downloaded Ubuntu Server 22.04 LTS and installed it — the process was really easy.
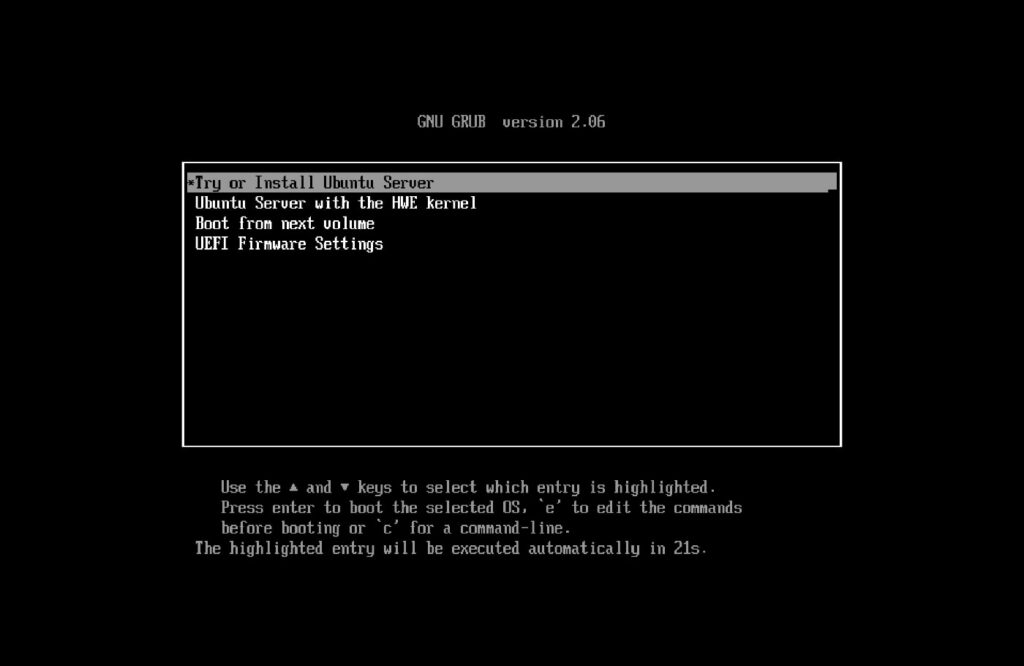
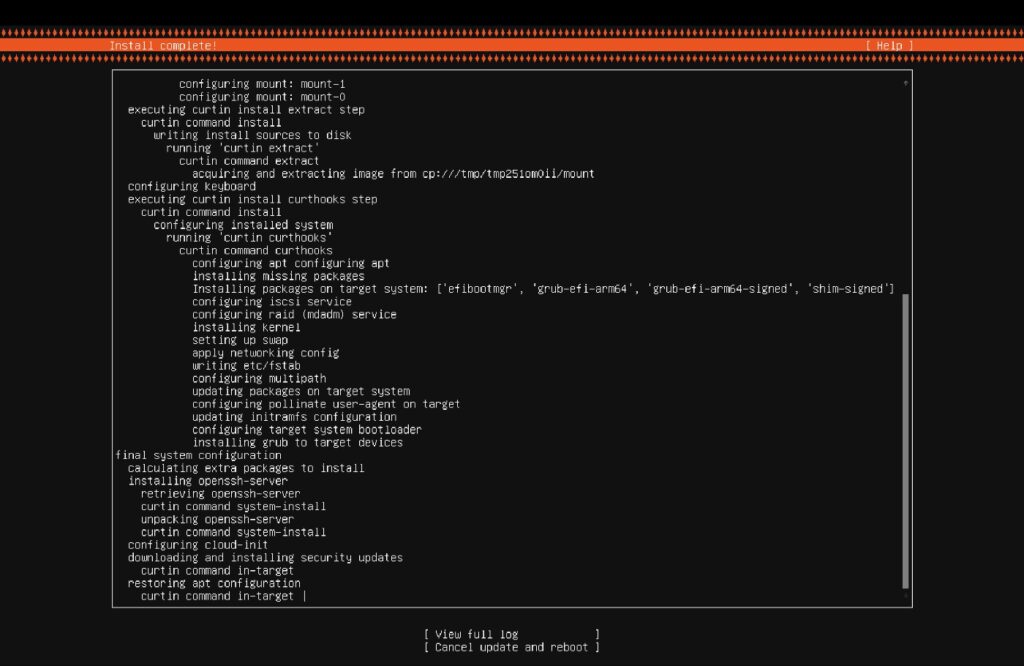
I went with most of the default settings during the install, with the exception that I did make sure to enable OpenSSH. Once the install was complete, I made sure to eject the bootdisk from the drive and restarted the machine.
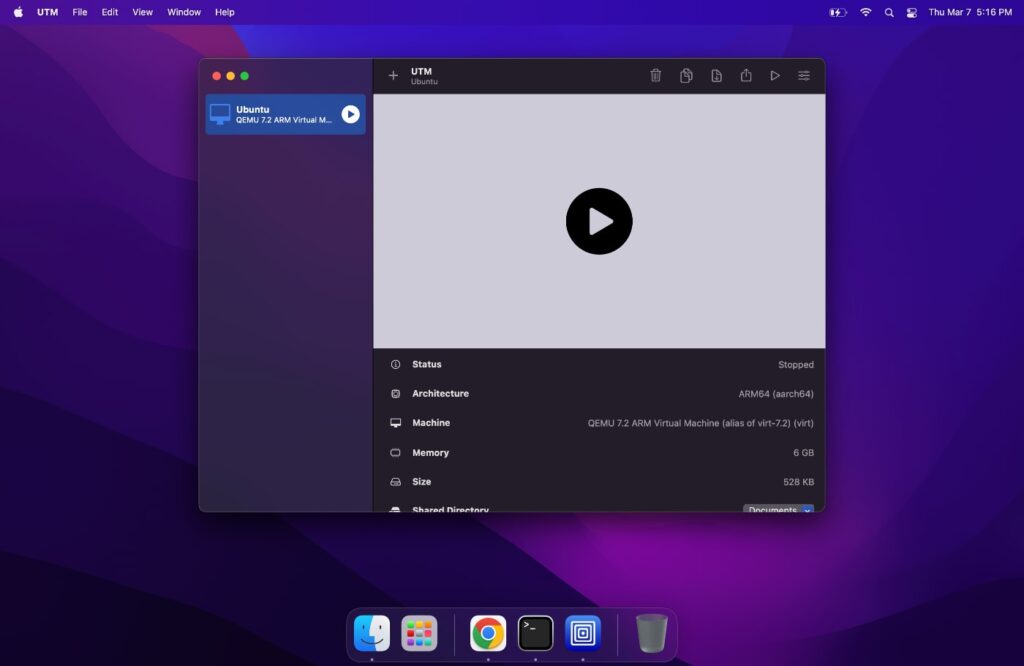
On a side note, I was pleasantly surprised by UTM. I was a bit startled when I initially looked around as VirtualBox, my usual go-to VM GUI, wasn’t available for Apple M*. UTM is a blessing.
Once up, I grabbed an external IPv6 IP from IPv6rs and downloaded the config. Then I installed WireGuard:
sudo apt update -y && sudo apt upgrade -y
sudo apt install wireguard -y && sudo apt install resolvconf -y
I copied the config to my WireGuard folder and started the service:
sudo cp Los*conf /etc/wireguard/wg0.conf
sudo  systemctl enable wg-quick@wg0.service
sudo systemctl start wg-quick@wg0.service
sudo wg-quick up wg0
And just like that, my self-hosted VM was online!
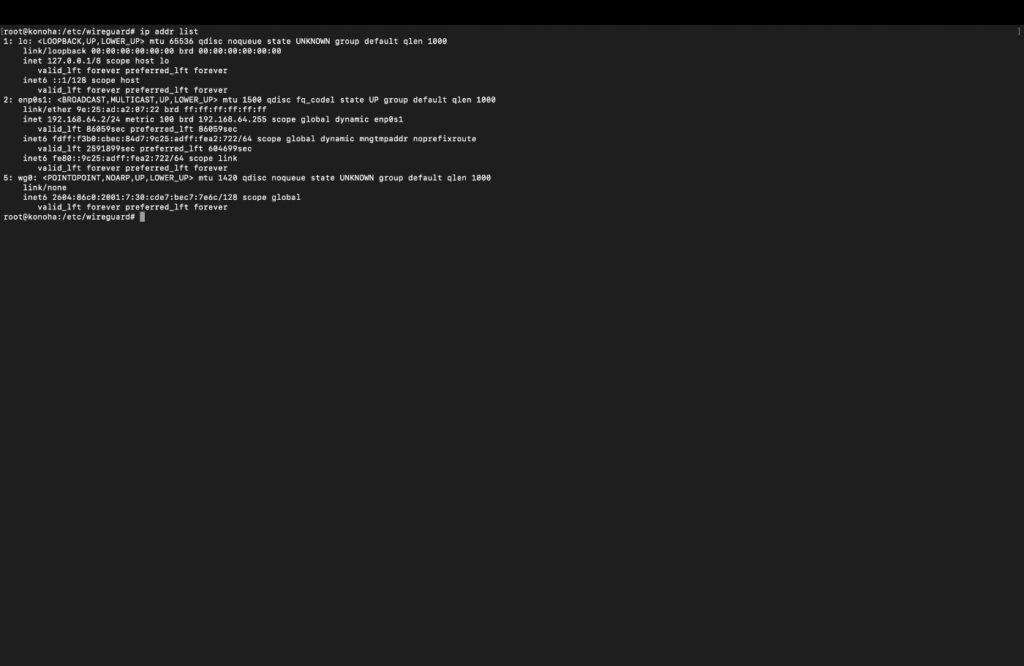
Next, I followed the tutorial on Ubuntu’s website to setup WordPress. Now I needed to see if it worked. I grabbed my IP:
ip addr listI found the IPv6 on the wg0 interface. Then I tried the website from my phone which I knew had IPv6 and it worked! Then, I used a domain I coincidentally had and pointed it at my IP with a AAAA record. I proceeded to setup letsencrypt. Next, I registered a free Cloudflare account and simply setup the NS to use Cloudflare. Now my website is accessible via both IPv6 and IPv4.

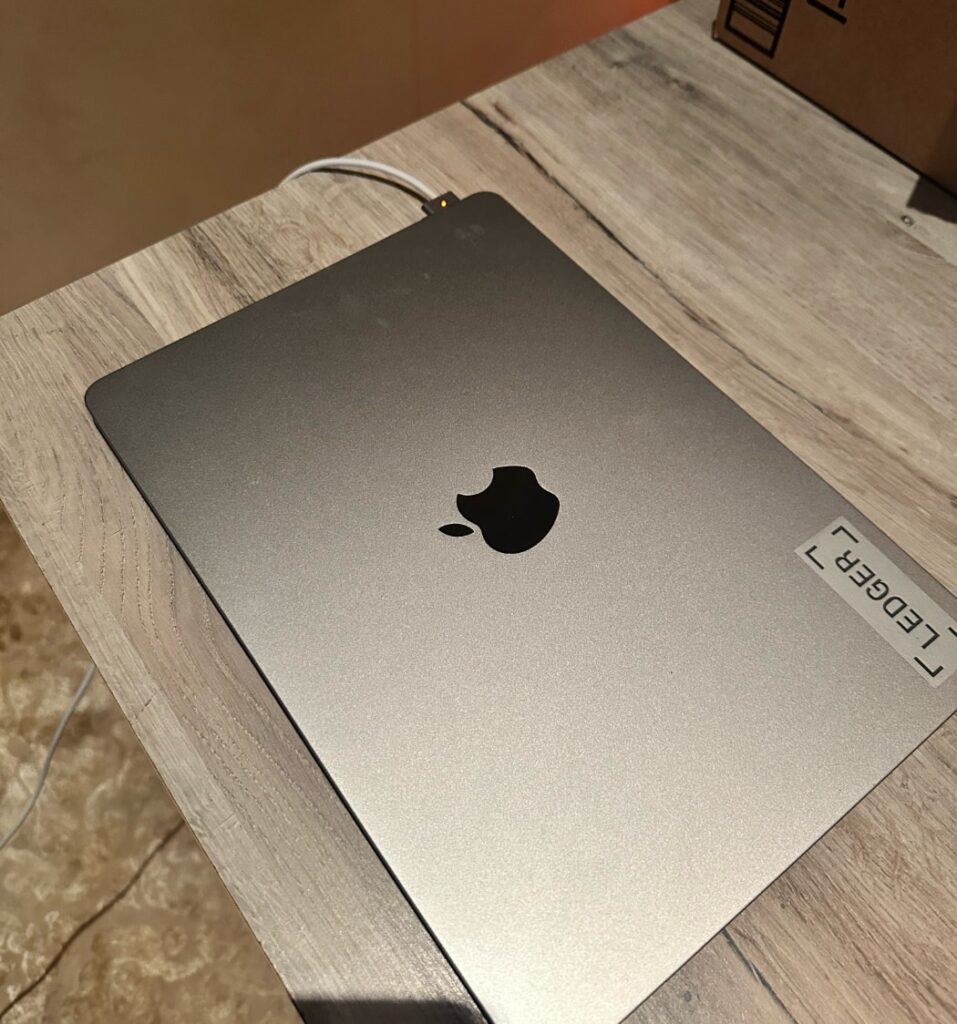
I’m pretty happy – using a laptop intrinsically gives the machine the advantage of a built-in battery backup and lower power usage. It really is like having a mini datacenter in your home.
The total cost of everything:
- Old Laptop (already had)
- UTM (free)
- Ubuntu Server (free)
- Internet (already had)
- IPv6 IP (paid yearly, so ~8.33/mo)
- WordPress (free)
- Cloudflare (free)
So in total, I ended up paying $8.33/mo instead of $80-$200/mo and have a server that blows away most of the plans at any VPS, that’s also AI ready!
So, without further adieu, I introduce to you the Thin Computer!
Leave a Reply